
Textures
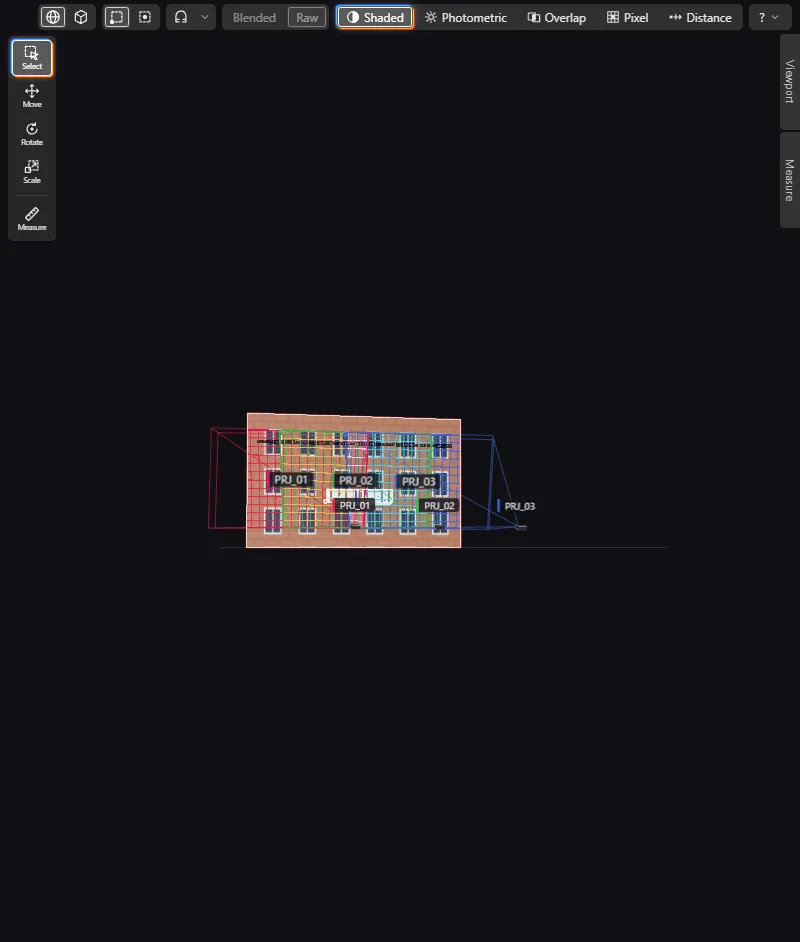
The Shaded view shows the pictures of your venue model, for example wood, brick or a painted logo. You can also put your own picture on a surface. Textures are for looking only. They never change a number.
What you see
Section titled “What you see”- In the Shaded view, the venue shows its base-colour textures. The projector light is on top.
- In the Photometric, Overlap, Pixel and Distance views, the colours are drawn over a grey copy of the texture. The venue keeps its detail, and the colours stay readable.
- The legend of each of these four views has a Texture strength (%) slider. The slider sets how much texture shows. The default is 50 %. At 0 %, the views look as they did before textures existed.
- The analysis never reads a picture. All numbers are the same with textures on or off.
The app uses only the base colour. It ignores normal, roughness, emissive and other maps. It also ignores transparency inside a picture, so the surface stays opaque.
To hide textures and imported colours in the Shaded view, switch on Grey in the Surfaces section of the Viewport fold-out. To let edges in the base texture count for Highlight, switch on Texture in the Edges section.
Where textures come from
Section titled “Where textures come from”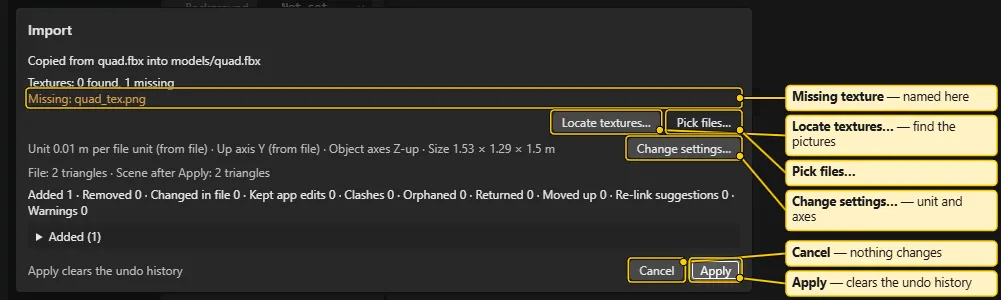
- From the model file. The app reads textures from glTF / GLB (embedded or external) and FBX. It also reads textures from OBJ with its
.mtlfile. The picture formats are PNG, JPEG and WebP. - From you. You can load a picture onto any surface of the venue (see below).
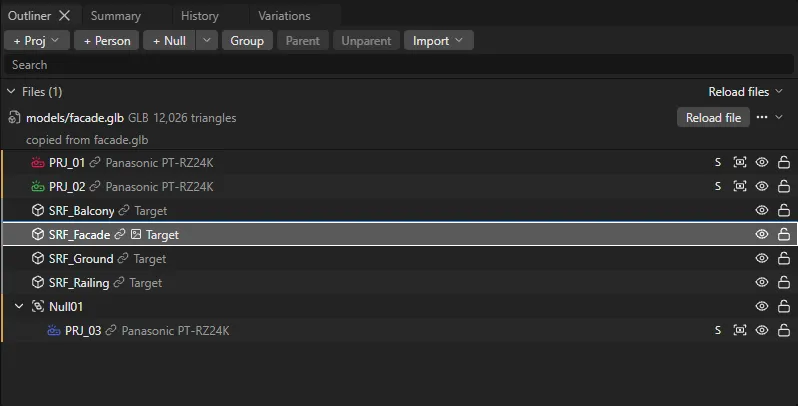
On import, the app copies the pictures of the model into the project folder, next to the model copy. If a picture is missing, the import report lists it and offers Locate textures…. Pick the folder with the pictures, and the app searches it. A missing texture never stops the import. The surface keeps its flat colour, and the Outliner shows a “texture missing” flag.
The app shrinks pictures that are wider or taller than 4096 px, for display only. Properties says so.
Switch textures on and off
Section titled “Switch textures on and off”- View > Textures is a check item. It is on by default.
- The Tex button in the Overlays section of the Viewport fold-out does the same.
- The setting is per session. The project does not save it.
- While textures are off, the Texture strength (%) slider is grey.
Load your own texture
Section titled “Load your own texture”
A loaded texture is an app edit. It wins over the texture in the model file. Reload never replaces it.
- Select one or more surfaces (meshes) in the Outliner or in the 3D view.
- Open the Texture section in Properties.
- Click Load….
- Pick a PNG, JPEG or WebP picture.
You can also drag one picture from Explorer. Drop it on the Texture section of Properties to load it onto the selected surfaces. Drop it on a surface in the 3D view to load it onto that surface. Drop one picture at a time.
The Texture section shows:
- Source: “From file:
”, “Flat colour” or “Loaded: ”. - Size: the picture size in pixels.
- Load… and Clear. Clear goes back to the texture from the model file, or to the flat colour.
Rules:
- The surface needs a UV map. Without one, the app refuses with a message like “
- Loading or clearing is one undo step, however many surfaces you selected.
- The app keeps a copy of your picture in the
texturesfolder of the project. The copy travels with the project and its snapshots. - A copy above 100 MB stays out of git and gets a flag, like big models.
- Both buttons are off in a read-only window.
- The Outliner marks a surface that has a loaded texture.
- The reload report lists the loaded textures that it kept.
Model textures section
Section titled “Model textures section”Select the root row of a model file. Properties then shows a Model textures section. It shows how many pictures were found, missing or not supported. Locate textures… is on only while some pictures are missing. After you cancel a texture load, Load textures also shows.
Loading bar
Section titled “Loading bar”Pictures load after the scene shows, so flat colours appear first. While pictures decode, the header shows “Loading textures n/m” with a small bar and a cancel button (x). Cancel stops all loads, and the flat colours stay. To load the pictures again, click Load textures on the model.
In the report
Section titled “In the report”A Render block in the report has its own Textures choice: As 3D view, On or Off. It also has its own Texture strength setting. See Report and PDF.
See also: View Modes, Blender Export and Import, Properties, Report and PDF